Salesforce out of the box offers web-to-lead and web-to-case, where we can create a simple form and publish it to our website, our customers or prospects can submit their questions or issues, and the data will be stored in Salesforce. However, if you need a custom form for a specific purpose, such as order, request, etc. that links to Salesforce, you need to get developers to build force.com sites, which is not simple, takes time, and also takes a big effort to support and maintain.
In this blog, I would like to introduce FormAssembly, a platform that supports large and complex data collection workflows that require advanced Salesforce integration. You'll benefit from FormAssembly’s powerful, all-in-one data collection platform and visual workflow builder that doesn’t need a team of developers to build and maintain the form as your business changes. Simply use FormAssembly builder (with point and click, instead of code) to make the changes and publish the form to your website.
FormAssembly provides a secure, versatile, and scalable solution for solving data collection challenges for organizations across industries. With a user-friendly platform and intuitive builders, non-technical users can easily create web forms and data collection workflows for any use case no matter the complexity or security requirements. With a simple connector and integration setup, data flows seamlessly from people to web forms, then directly and cleanly into Salesforce.
A FormAssembly Enterprise or Compliance Cloud plan gives users access to several key features and benefits, including:
- Advanced Salesforce integration: Create or update data for standard and custom objects in Salesforce, prefill forms, use Dynamic Picklists, and more.
- High security and compliance: Protect data with Section 508 compliance, spam protection, PCI DSS Level 1 Certification, encryption at rest, and TLS 1.2 secure forms.
- Respondent authentication: Allow only authenticated users of LDAP, SAML, CAS, or Salesforce Communities (now Salesforce Experience Cloud).
- No-code web form builder and workflow builder: Easily create custom web forms and build out complex data collection workflows without code or technical support.
- 24/5 support by live chat, email, or phone: Receive friendly, helpful support from a dedicated and knowledgeable team (phone is for Priority Support customers only).
FormAssembly’s
web form builder provides a user-friendly, drag-and-drop interface that lets users easily create custom Salesforce-connected forms, edit themes, add images, and more.
1. Once logged into your FormAssembly account, you can start building a web form by clicking on “+ New Form” and choosing a blank form, template, Salesforce import, or clone of another FormAssembly form.
2. All forms are customizable, from text (drop-downs, radio buttons, text area, etc.) to images and themes. You’ll have the ability to add your organization’s logo and brand colors.
3. Setting a form to active or archived status, setting a processing quota, and creating custom messages can all be achieved in the form processing options section.
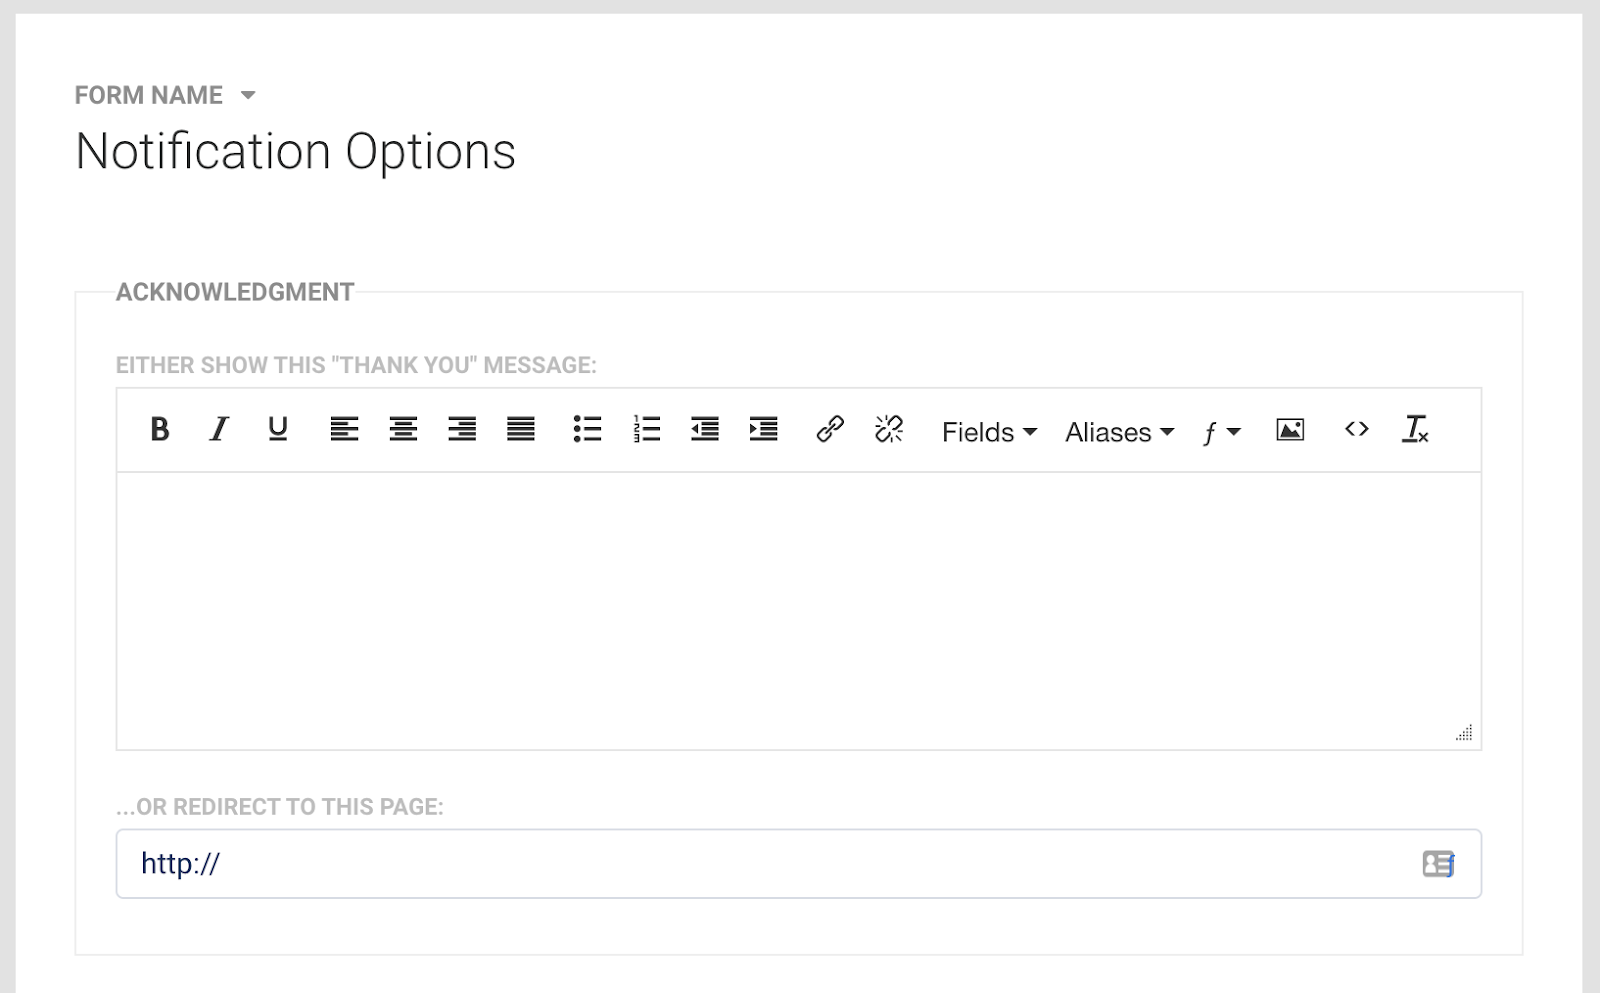
4. You can also customize a “thank you” message for a web form submission as well as set a URL for a page redirect.

Salesforce Integration
When it comes to Salesforce, FormAssembly makes this integration seamless and streamlined, while providing several
powerful connectors. This powerful Salesforce integration lets users update and create records for standard or custom objects, prefill data, leverage multiple objects, and more.
FormAssembly’s level of form customization and advanced integration is in most cases even better than Salesforce’s native options. This is why this external data collection platform is the go-to solution for building web-to-anything forms that send data seamlessly to your connected Salesforce Org.
Salesforce Integration Benefits
Leveraging FormAssembly’s platform and integrations offers several advantages that help solve common challenges of Salesforce data collection:
- Eliminate manual work: Create or update records with Salesforce forms that work with any standard or custom object and even objects from AppExchange apps.
- Enable form prefilling: Data pre-loads from Salesforce into a FormAssembly form, making it easy for customers to update information, which syncs back to your CRM.
- Seamless file upload: Customers can easily attach files that upload to a specific Salesforce record when a form is submitted.
- Complete live lookups: FormAssembly’s Salesforce Dynamic Picklist tool lets users complete live lookups to Salesforce from specific fields in a form.
- Streamline processes: Embed and easily load FormAssembly forms in Salesforce Communities using the FormAssembly Lightning component.
- Build forms in minutes: Easily create FormAssembly forms with your own Salesforce objects using FormAssembly’s Salesforce Import too.
Connecting FormAssembly and Salesforce
1. Within the connector section, you have the option to choose between form opened, form submitted, and after form submitted connectors.
2. Once you choose the Salesforce Connector, click the “Configure button” to connect to Salesforce. Enter Salesforce credentials and allow access to FormAssembly and click the save button.
Learn More
